So here’s the thing. I’d been waiting for GeForce Now to launch in India for almost a year when I finally gave up and figured out how to get on it from Mumbai. A few years on, the official rollout still hasn’t really materialised in the way I’d hoped. Nvidia has data centres in Tokyo and the Middle East now, which helps with latency, but if you want full GeForce Now (RTX, the priority queue, the catalogue) from an Indian IP, you’re still looking at a workaround.
This post is the workaround. Two paths: a paid VPN if you don’t care about shaving a few dollars, or a $0.02-a-month self-hosted EU server with sshuttle if you do. I’ve used both. They both work. The trade-off is convenience vs cost.
Important: this post is about getting past the geo-block to create the account and launch a game. Once a game is launched, you disconnect the VPN and play directly. The latency you experience is from the data centre Nvidia’s load balancer assigns you, not from your VPN exit point.
What “cloud gaming” actually is
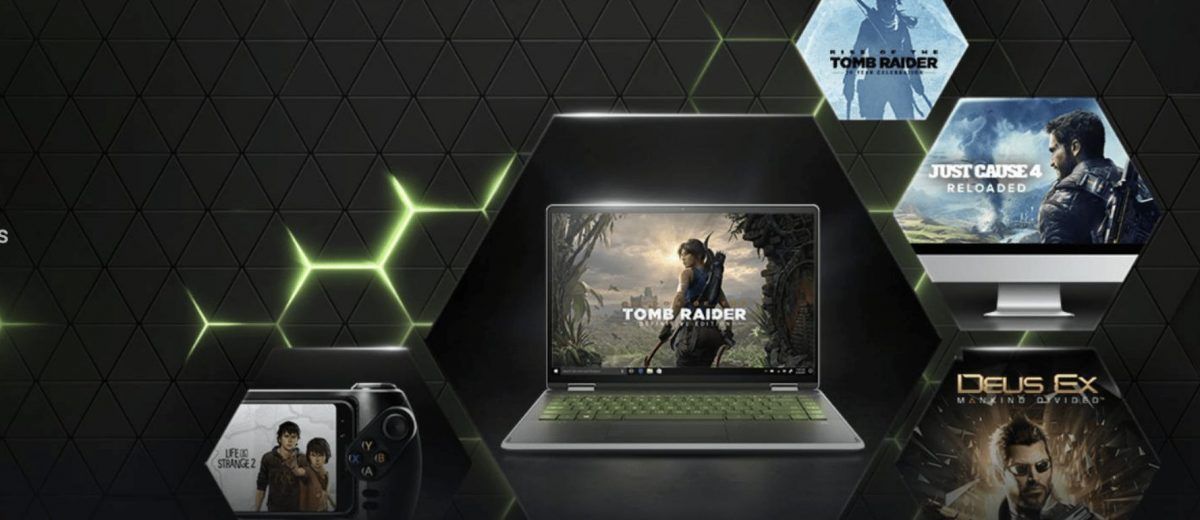
GeForce Now is Netflix for games. The actual game runs on an Nvidia GPU in a data centre; what you see on your screen is a video stream of that gameplay, with your keyboard and mouse inputs travelling back to the server. There’s no game install on your machine, no VRAM, no driver headaches. The catch is the round-trip latency between your input and the rendered frame, which is why it lives or dies on internet quality and proximity to a data centre.
Compared with Stadia (now defunct), Xbox Cloud Gaming, and Luna, GeForce Now’s edge is that it streams games you already own on Steam, Epic, Ubisoft Connect, and a few other stores. You’re not buying a separate game library; you’re renting compute to play your existing one.
For people in India, the limitations are:
- No official Indian data centre yet. The Tokyo, Middle East, and EU centres are the closest. Latency from Bangalore to Tokyo is about 100ms; to Frankfurt about 130ms. Playable for most games, painful for competitive shooters.
- Sign-up is geo-locked. Nvidia’s account creation flow checks your IP and refuses if you’re in India.
- Some games are region-locked at the publisher level. Even after you get past Nvidia’s geo-block, certain titles won’t launch from a non-allowed region.
What you’ll need
For the easy path:
- A Mac, Windows, or Linux machine with a stable broadband connection (15Mbps minimum, 50Mbps+ recommended).
- A paid VPN with a server in EU North/West (Sweden, Norway, Finland). I’ve tested ProtonVPN and NordVPN; both work.
For the cheap path:
- The same hardware.
- An AWS, Google Cloud, or Oracle Cloud account with a credit card on file.
sshuttleinstalled locally. Setup walkthrough is in my sshuttle VPN over SSH post.
The cheap path costs about $0.02/month if you’re only using the server to launch games (10 minutes per session). The paid VPN costs $5-10/month and works in one click. Pick based on whether you’re optimising for time or money.
Path A: paid VPN to a European server
This is the five-minute version.
- Sign up for ProtonVPN (free tier works for sign-up; paid for actual gameplay because the free tier throttles speeds). Or any reputable VPN with EU-North servers.
- Connect to a Sweden, Norway, or Finland server.
- Verify your IP is European:
curl ifconfig.meshould return a Swedish IP, or visithttps://ipinfo.ioin a browser. - Sign up for GeForce Now at the official site. Pick a plan:
- Free: 1 hour continuous, ad-supported queue, basic graphics.
- Priority ($10/month): 6 hours, RTX on, priority queue.
- Ultimate ($20/month): 8 hours, RTX 4080-class GPU, 4K/120fps if your bandwidth supports it.
- Download the GeForce Now app for your OS from the GeForce Now downloads page.
- Install and log in.
Once you’re in the app, the VPN is mostly done its job. Some users report the app needing the VPN active for the first 30 seconds of a session; in my experience the VPN can come off as soon as you’re past the login screen. More on that in the launch step below.
NordVPN Worth paying for
I self-host a VPN for daily browsing, but for streaming, travel, and my wife's phone I keep a commercial one around. This is the one I've actually used.
Get the dealPath B: a $0.02/month EU server with sshuttle
If a few dollars a month isn’t worth the convenience, this is the path. The basic idea: spin up a tiny VM in an EU region, use sshuttle to tunnel your laptop’s traffic through it for the few minutes you need to sign up and launch a game, then shut the VM off.
Option 1: Google Cloud always-free. The same e2-micro VM I covered in the Google Cloud free WordPress post works here, except you have to pick an EU region (which exits the always-free tier). For a few minutes a day, the egress and CPU charges round to zero.
Option 2: AWS t3.nano in EU-North-1. This is what I actually use. Launch a t3.nano (~$0.005/hour) in eu-north-1 (Stockholm), assign a public IP, paste your laptop’s SSH public key. Stop it when you’re not using it.
# After launching the instance, install sshuttle locally
brew install sshuttle           # macOS
sudo apt install sshuttle       # Linux

# Tunnel everything through the AWS instance
sudo sshuttle -r ec2-user@<aws-public-ip> 0.0.0.0/0 --dns
Now your laptop’s traffic exits in Sweden. Verify with curl ifconfig.me; the IP should be Amazon’s, geo-located to Sweden.
The cost math: a 10-minute session, 5 times a day, 30 days a month, is 25 hours of runtime. At $0.005/hour that’s $0.13/month. Round up to a quarter for storage and egress. If you only sign up once and launch sessions less often, it’s pennies.
A small refinement: drop a cron job (or a GitHub Action with a cron trigger) that auto-stops the instance after an hour of uptime. Then you can’t accidentally leave it running overnight.
Step-by-step: signing up and launching your first game
Whichever path you took for the IP, the actual sign-up flow is the same.
- With the VPN/sshuttle tunnel active, go to the official GeForce Now site and click Join today.
- Create an Nvidia account. Use a real email; you’ll need it for verification.
- Choose a plan. The Free tier is fine for testing; bump to Priority once you’re sure it works.
- Download the GeForce Now app and install.
- Log in. The app should show your library connected to no game stores yet.
- Click your username → Settings → Connections and link Steam, Epic, Ubisoft, or whichever stores you own games on.
- Search for a game you own. If GeForce Now supports it, you’ll see a green Play button.
- Click Play. The app spins up a session. Wait 1-3 minutes for the rendering instance to boot and Steam to authenticate.
- Once the game is in-game (loading screen done, main menu visible), disconnect the VPN. This is the key step. The game session itself goes directly between your machine and Nvidia’s data centre, not through your VPN. Disconnecting after launch usually gives noticeably lower latency.
For long sessions, leave the AWS instance stopped (the SSH tunnel goes down anyway). For quick “I want to play one game” sessions, this whole flow takes about 3 minutes from connecting the tunnel to in-game.
Real-world latency and quality you can expect
I tested this from Bangalore (50Mbps fibre, FTTH) and Mumbai (100Mbps cable). Numbers below are the typical range; your mileage will vary by ISP, time of day, and which Nvidia data centre you land on.
| Location | Round-trip latency | Effective FPS at 1080p | Playable for |
|---|---|---|---|
| Bangalore → Frankfurt | 130-150ms | 60fps stable | Single-player, RPGs, slow-paced games |
| Bangalore → Tokyo | 95-110ms | 60fps stable | Most games including casual shooters |
| Mumbai → Frankfurt | 120-140ms | 60fps stable | Single-player, RPGs |
| Mumbai → Middle East (when assigned) | 70-90ms | 60fps stable | Most games, including PVP |
Counter-Strike, Valorant, and other twitch shooters are still painful at these latencies. For Cyberpunk 2077, Elden Ring, Witcher 3, and most single-player titles, it’s genuinely good. The Ultimate tier’s 4K/120fps streams need 50Mbps+ down and a reasonably stable connection; if your line drops to 20Mbps mid-session, you’ll notice the resolution drop hard.
Limitations and gotchas worth knowing
A handful of things have bitten me over the years.
Some publishers block India IP launches even after Nvidia accepts you. Ubisoft has done this in the past for certain titles. You may need to keep the VPN on for the entire session, not just the launch, if a particular game refuses.
Account region affects available games. Your GeForce Now account is tied to the region you signed up from. If you signed up via Sweden, your library matches what’s available in Sweden, not India. This is mostly fine but occasionally a title is missing from your “country” that’s present in others.
Steam login from a new IP triggers Guard. If your Nvidia session connects to Steam from an EU IP and you’ve never logged in from there before, Steam will email you a Guard code to authorise it. Have your email open during first-time setup.
Nvidia’s TOS technically prohibits this. Their terms say the service is for users in supported regions only. In practice they don’t enforce against existing accounts unless you abuse it. I’m not a lawyer, you’re not breaking encryption, but you are using the service from outside the supported region. Make your own call.
If this got you on GeForce Now and you start spending more time on cloud gaming, my running multiple game servers on a mini PC post is the next step for self-hosted multiplayer, and the sshuttle VPN over SSH post covers the same tunnelling pattern in more depth for any other geo-blocked service you run into.
Last updated: July 2024